I like the loose comfortable fit off #15 MMXV
This is my favourite semi-fitted go-to blouse pattern.
I have folded the Facing section away to the center front line (VM-marked on pattern)
This pattern is a semi-fitted pattern just enough ease to my liking.
So I only used the front and back sections.
Below is the changes done to the -
Front and Back pattern.
I used #176 MMIV sleeve pattern
I used this sleeve, nice and loose fitting....
Not as flared as picture showed in purple but maybe if I do the same pose it will look as the picture.
I'm following the instructions as in threads magazine
Threadsmagazine.com/issue/2019/01/threads-201-Feb-Mar-2019
I'm definitely going to do this in a white cotton fabric or lightweight linen.
I used an old pleated cashmere skirt fabric -
Recycled the fabric just to test my pattern and alterations
The sleeve is a remnant of wool I used and love the result
Picture below at end
Trace bodice front.
Cut pattern along center front line (VM)
Don't add seams or hem allowances.
Adjust neckline and shoulder seamline.
Lower shoulder seamline by 1".
Widen Neckline by 1" at the new shoulder seam.
Create the center-front pleat extension.
Draw 2 lines, parallel to the original center front line,
2 inches and 4 inches beyond center front.
Label the 2" line "Pleat Foldline"
Label the 4" line "Place on Fold"
Extend the neckline and hemline to intersect the lines at right angles.
Begin the cut-on cowl draft.
Extend the "place on fold" line up by 10 and 1/4 inches
(or as desired).
From the top, square a line toward the bodice side.
Extend it beyond the shoulder seamline's outer end.
Establish the back-neck seamline
Draw a line perpendicular to the grainline,
from the shoulder seam neckline end out over the shoulder seam
This is the back neck cutting line.
Draw a parallel line, 5/8" above this -
for the back-neck seamline.
Curve the neck end down gently to meet the shoulder seam at the neckline end -
label this point "A"
On the garment back pattern,
measure the back-neck seamline length.
From point A, measure out along the line the back-neck seamline length - mark this point CB
Draw the cowl's center back seam
From the CB(center back) mark,
draw a line up to the collar's top edge line,
perpendicular to the grainline.
Add seam and hem allowances
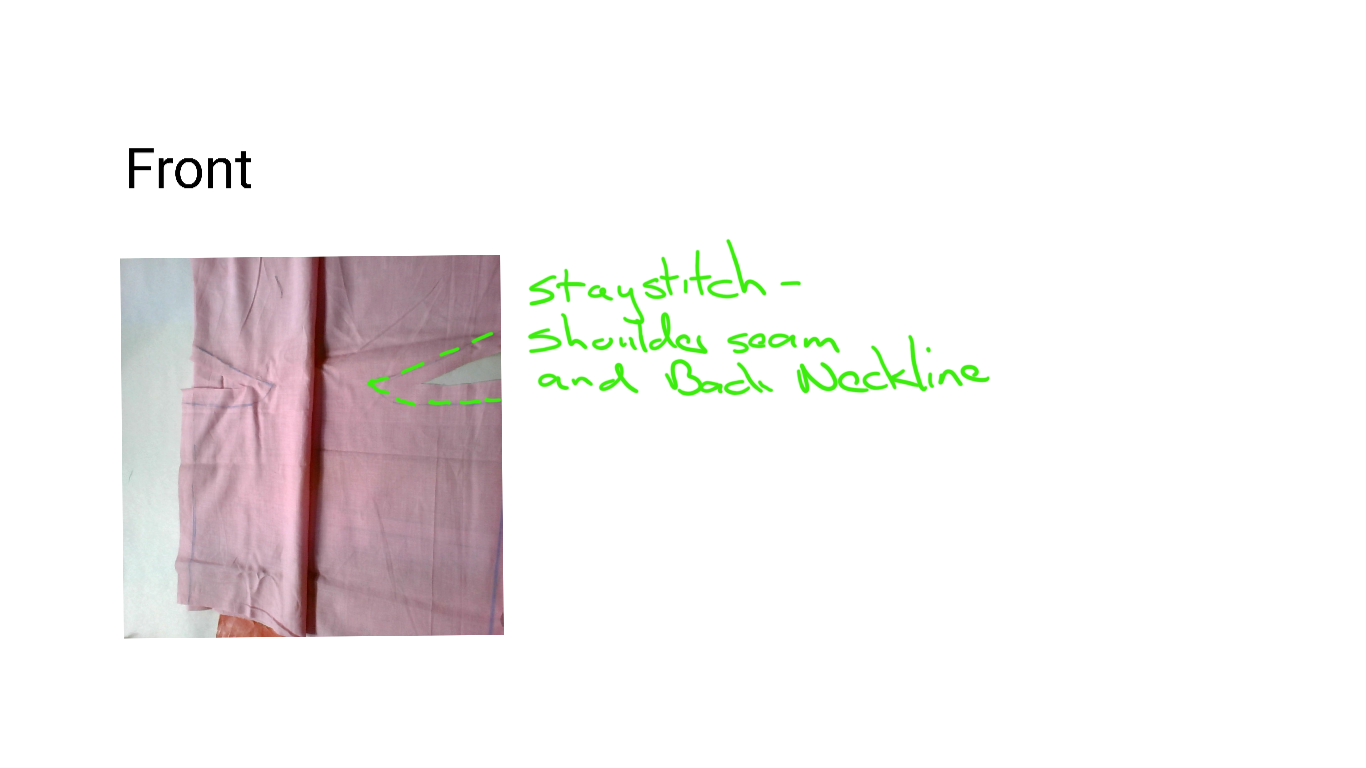
Back Pattern Neckline
Mark 1 inch on shoulder seam, from neckline's side.
Reshape back neckline with curve.